Common Spotted Orchid Native Seed
Common Spotted Orchid Native Seed
Native UK orchid species
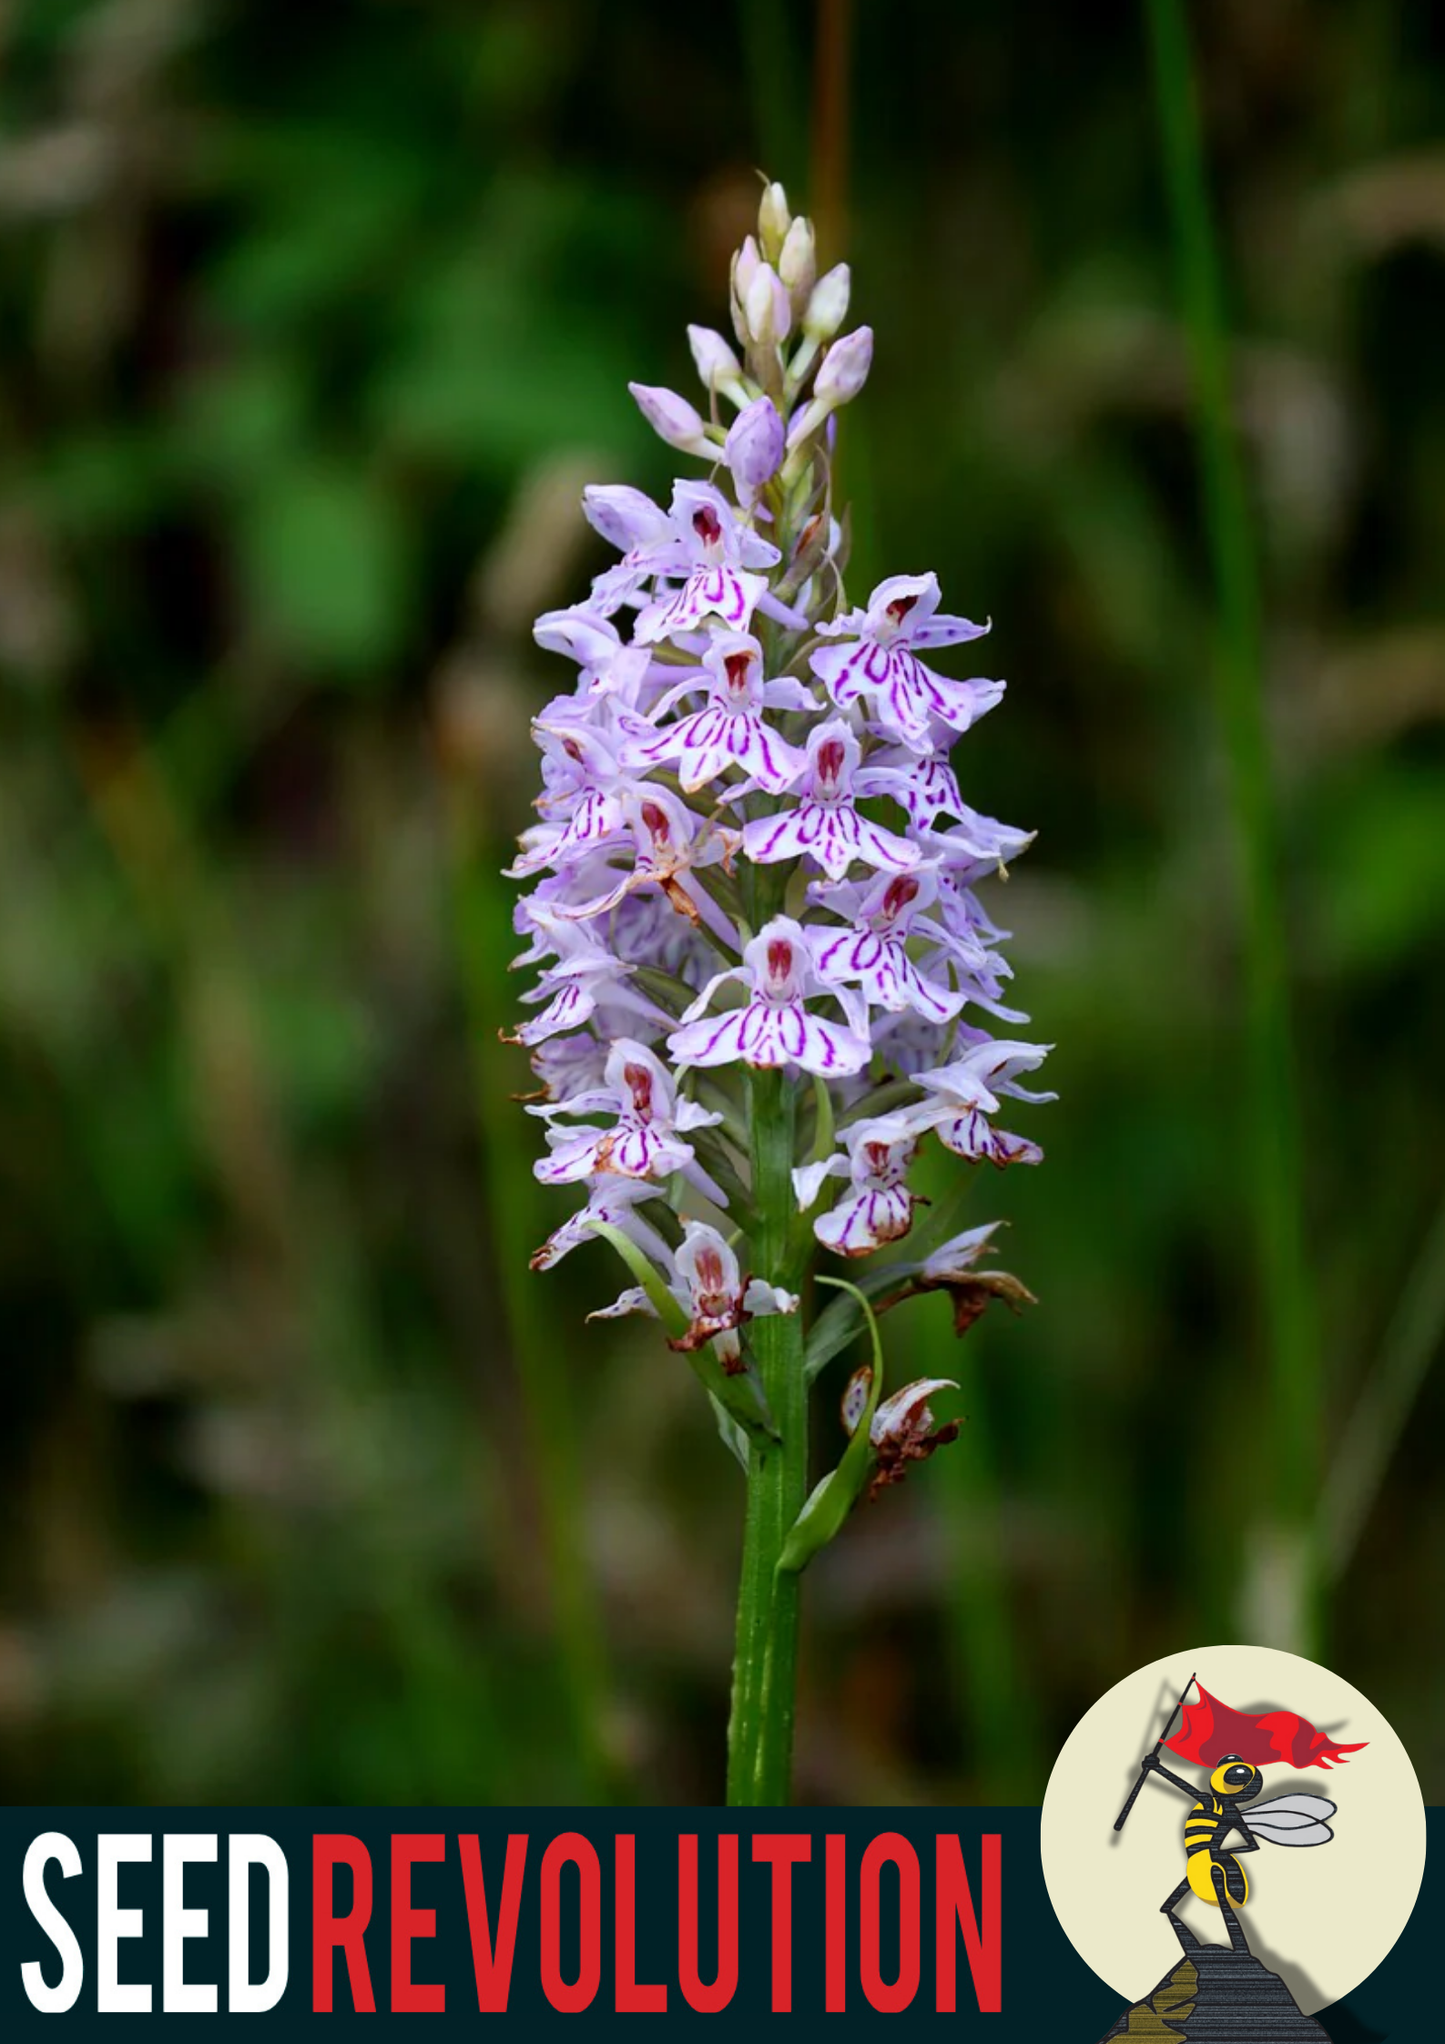
Stunning pink spotted flower spikes
Seeds mixed with symbiotic soil
Requires patience (3-15 years to flower)
Challenging but rewarding project
Couldn't load pickup availability
Dactylorhiza fuchsii
*It takes from 3-15 years for orchids to grow from seed.* - This is reflected in our No Grow No Fee policy.
There is something quite stirring about the first time you see a common spotted orchid in the wild. Whilst they are fairly widespread in the UK they have such breath-taking elegance that you’re forced to take stock.
A pink richer than any artificial fairground candy floss, that even Barbie would be jealous of, with intricate spots that look as though they were painted on by a master’s hand.
Orchid seed is wild in every sense of the word. It’s so fine it’s basically fairy dust—a million seeds per gram, lighter than air and liable to vanish with a sneeze. So, to keep things grounded, we’ve mixed it with real soil granules from actual orchid turf. That means no fiddly handling, no seed-clouds blowing into your neighbour’s BBQ. Just sprinkle and let nature do her magic.
*Orchid seeds are very fine and come with soil.
How to Plant
Growing Common Spotted Orchids (Dactylorhiza fuchsii) from seed is a challenging yet rewarding endeavour that requires patience, precision, and a deep understanding of their unique symbiotic relationship with mycorrhizal fungi. This guide delves into the essential steps and considerations to enhance your chances of success.
Understanding the Orchid-Mycorrhizal Fungi Symbiosis
Orchid seeds are exceptionally small and lack the necessary nutrients to germinate independently. In their natural habitat, they rely on a symbiotic relationship with specific mycorrhizal fungi, which provide the essential nutrients required for germination and early development. These fungi colonize the orchid’s root system, forming structures known as pelotons within the root cells, facilitating nutrient exchange. Without the presence of compatible mycorrhizal fungi, orchid seeds are unlikely to germinate successfully.
Steps to Cultivate Common Spotted Orchids from Seed
1. Seed Collection and Sterilization
• Timing: Collect seeds from mature orchid pods when they begin to split naturally.
• Sterilization: Due to their minute size and susceptibility to contamination, seeds must be sterilized carefully, typically using a mild bleach solution, to eliminate potential pathogens.
2. Preparation of the Growth Medium
• Sterile Environment: Aseptic conditions are crucial to prevent contamination.
• Nutrient Medium: In vitro germination often employs a nutrient-rich agar medium. However, for symbiotic germination, incorporating a compatible mycorrhizal fungus into the medium is essential. Research indicates that fungi from the Tulasnella and Ceratobasidium genera are beneficial for many terrestrial orchids.
3. Inoculation with Mycorrhizal Fungi
• Fungal Source: Isolate fungi from the roots of healthy, mature Common Spotted Orchids or obtain them from specialized suppliers.
• Co-cultivation: Introduce the sterilized seeds and fungal culture onto the prepared medium simultaneously, facilitating the establishment of the symbiotic relationship necessary for seed germination.
4. Germination and Protocorm Development
• Monitoring: Maintain a controlled environment with appropriate light, temperature, and humidity.
• Development Stages: Successful germination leads to the formation of protocorms, which eventually develop into seedlings with discernible leaves and roots.
5. Acclimatization and Transplantation
• Transition Phase: Once seedlings are robust enough, gradually acclimate them to external conditions by reducing humidity and increasing light exposure.
• Transplanting: Transfer the acclimated seedlings to pots containing a well-draining, orchid-specific substrate. Incorporating organic matter can support the continued association with mycorrhizal fungi.
Challenges and Considerations
• Symbiotic Specificity: Not all mycorrhizal fungi are compatible with every orchid species. Identifying and sourcing the appropriate fungal partner is critical.
• Time Investment: The process from seed to mature, flowering plant can span several years, requiring dedication and patience.
• Success Rate: Even under optimal conditions, germination rates can be low, and not all seedlings will reach maturity.
Simplified Guide
1. Collect and Sterilize Seeds: Gather mature seeds and sterilize them to prevent contamination.
2. Prepare Sterile Growth Medium: Use a nutrient-rich medium under aseptic conditions.
3. Introduce Mycorrhizal Fungi: Add compatible fungi to the medium to support seed germination.
4. Monitor Germination: Maintain controlled environmental conditions to encourage development.
5. Acclimate and Transplant Seedlings: Gradually adapt seedlings to external conditions before transplanting them into suitable pots.
Embarking on the journey of growing Common Spotted Orchids from seed is a meticulous process that intertwines the complexities of plant biology with the art of cultivation. While challenges abound, the reward of nurturing these exquisite flowers from seed to bloom is unparalleled.
No Grow No Fee
Due to the long extensive period it takes for orchids to grow, they do not fall under our No Grow No Fee offer.
Share